Table Rate Shipping
Search for additional information about Table Rate Shipping form the developers knowledgebase: https://www.bolderelements.net/support/
Add table rate shipping options by going to WooCommerce => Settings => Shipping. Here you will have to create a Shipping Zone before you can add Table Rate Shipping or update an existing zone.
When you edit the Table Rate Shipping method the settings are split into 6 sections.
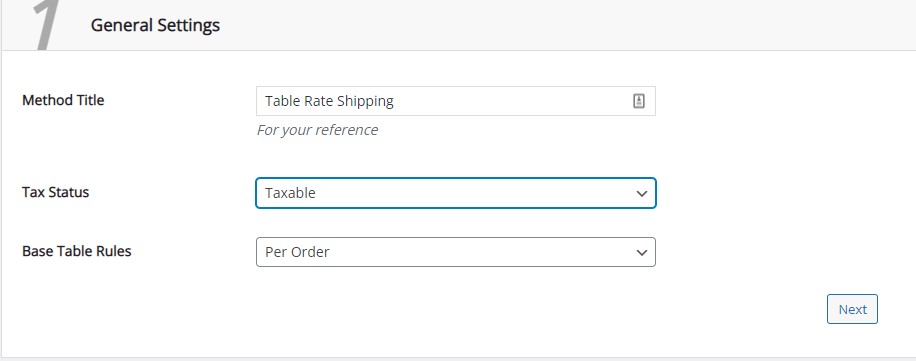
The first section will give the option to enter a shipping method a name, turn on or off tax inclusion and set a rule to charge shipping for each order, item, or class of items.
The second section will allow you to limit this shipping option to specific roles. This is useful if you have wholesale customers, and you would like to charge them bulk shipping but exclude your general customers from the deal.

The third section will allow you to hide this shipping method until all conditions are met.

The fourth section gives you the ability to use volumetric weight instead of physical weight. You may have a small item that weighs a lot, so you choose to ship using volumetric weight. This would be a rare occurrence and not often used.

The fifth sections give a few extra functionality options to calculate shipping cost after tax and coupons, round the weight to next whole number and to hide shipping options if free shipping is available.

The sixth and last section will enable you to set up one or multiple shipping options depending on your goals. Start by adding at least one shipping option and give this a title, (e.g., Express Shipping, Standard Shipping etc.) Next, add table row and a condition to the row. Conditions will limit this option to show at the specified cost allowing you to increase the cost of shipping with each added row. The most used condition by couriers is weight but this can also be set to quantity, volume, shipping class, coupon, or many other options. When adding weight as a condition I have found it works best with the Greater Than (>=) condition as the Less Than (<=) option will tend to skip over all the rows you have set up and take the last option entered as all other options are less than or equal to.
Costs can also be set up as percentages of the product price or increased by the set amount for every item, dollar, kilogram, or centimetre added.
