Adding and Managing Products
Before adding your first product, let’s get familiar with how product categories, tags, and attributes work.
Product Categories
Product categories can be created, edited, and selected at any time. This can be done when you first create a product or come back and edit it or the category/tag specifically.
Attributes
These can be added per product, or you can set up global attributes for the entire store to use (e.g., in layered navigation).
To learn more, see: Managing Product Categories, Tags and Attributes
Product Types
With attributes and categories set up and stock management configured, we can begin adding products. When adding a product, the first thing to decide is what type of product it is.
- Simple – covers the vast majority of any products you may sell. Simple products are shipped and have no options. For example, a book.
- Grouped – a collection of related products that can be purchased individually and only consist of simple products. For example, a set of six drinking glasses.
- Virtual – one that doesn’t require shipping. For example, a service. Enabling this, disables all shipping related fields such as shipping dimensions. A virtual product will also not trigger the shipping calculator in cart and checkout.
- Downloadable – activates additional fields where you can provide a downloadable file. After a successful purchase, customers are given a downloadable file as a link in the order notification email. This is suitable, for example, for a digital album, PDF magazine, or photo.
- External or Affiliate – one that you list and describe on your website but is sold elsewhere.
- Variable – a product with variations, each of which may have a different SKU, price, stock option, etc. For example, a t-shirt available in different colors and/or sizes.
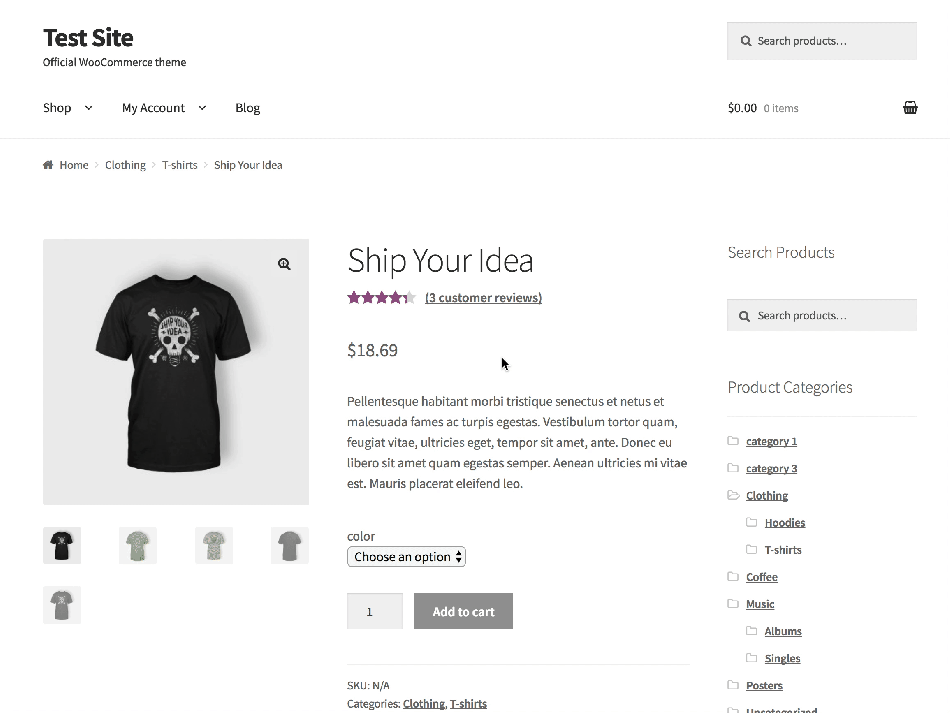
Adding a Simple Product
Go to Products > Add Product.
Enter a product Title and Description.
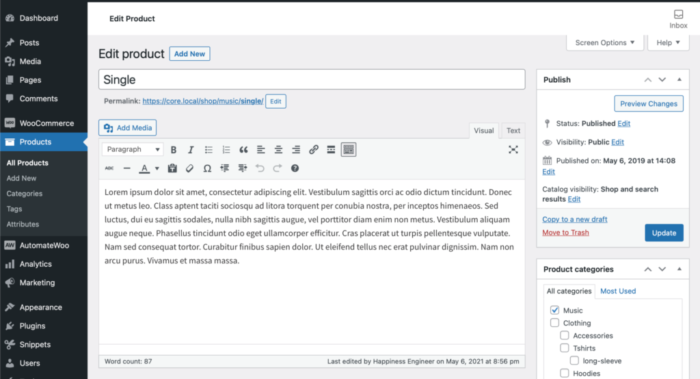
Product Data
Scroll down to the Product Data panel, and select Simple Product.
The Product Data meta box is where the majority of important data is added for your products.
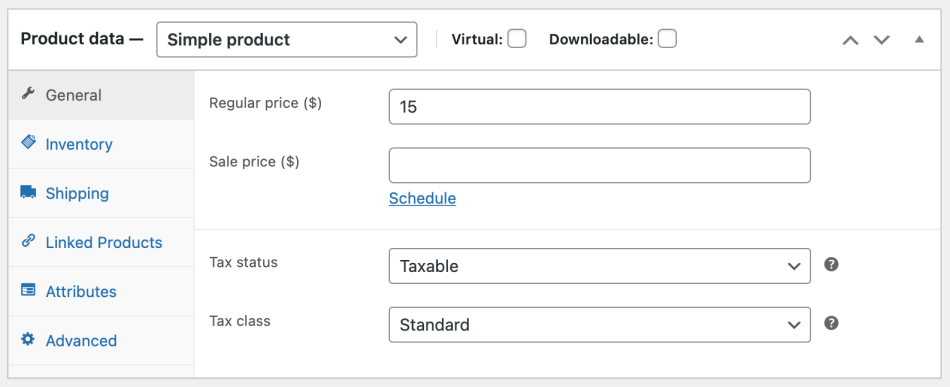
General
Price
- Regular Price – Item’s normal/regular price
- Sale Price – Item’s discounted price that can then be scheduled for certain date ranges. The sale expires at 11:59pm of the specified end date
Tax
- Tax status – Taxable / Shipping only / None
- Tax class – Choose which tax class should be applied
Inventory
The inventory section allows you to manage stock for the product individually and define whether to allow back orders and more. It enables you to sell products and allow customers to add them to the cart to buy.
SKU
SKU, or Stock Keeping Unit number, is a unique number assigned to a product for, amongst other things, the purpose of keeping track of inventory. The SKU field can accept up to 255 characters, which can include alphanumeric values and some special characters.
Enable Stock Management must be selected in Products Inventory Settings; otherwise, only the ‘Stock status’ option is visible in the Product Data Inventory box.
Options when stock management at product level is disabled. You are responsible for updating the Stock Status.
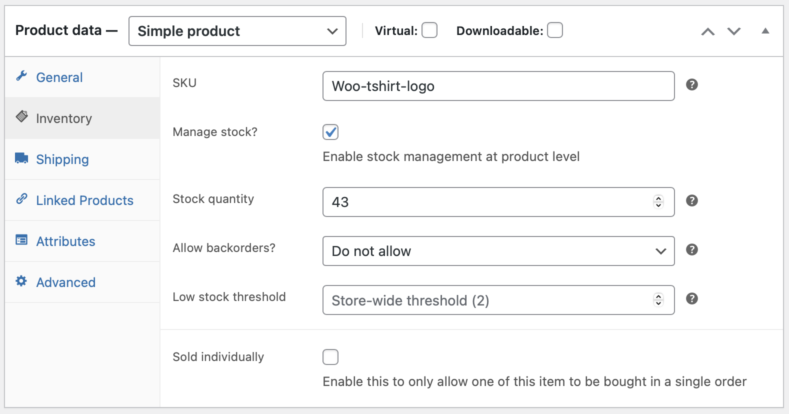
Options when stock management at product level is enabled.
- Enter the Stock Quantity, and WooCommerce auto-manages inventory and auto-updates Stock Status as Stock, Out of Stock or On Backorder.
- Select whether to Allow Backorders.
- Low stock threshold – Enter a number upon which you are notified.
- Tick the Sold Individually box to limit the product to one per order.
Shipping
- Weight – Weight of the item.
- Dimensions – Length, width and height for the item.
- Shipping Class – Shipping classes are used by certain shipping methods to group similar products.
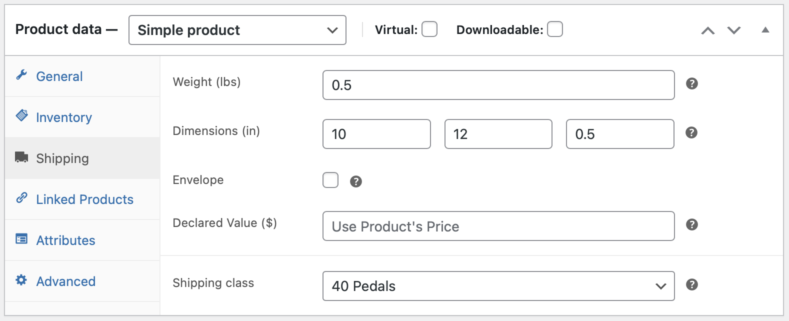
Note: Virtual products don’t require shipping — an order with virtual products won’t calculate shipping costs.
Linked Products
Using up-sells and cross-sells, you can cross promote your products. They can be added by searching for a particular product and selecting the product from the dropdown list:
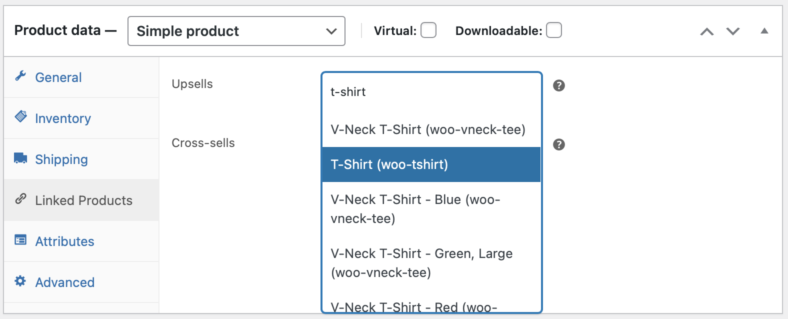
Up-sells are displayed on the product details page. These are products that you may wish to encourage users to upgrade, based on the product they are currently viewing. For example, if the user is viewing the coffee product listing page, you may want to display tea kettles on that same page as an up-sell.
Cross-sells are products that are displayed with the cart and related to the user’s cart contents. As an example, if the user adds a Nintendo DS to their cart, you may want to suggest they purchase a spare stylus when they arrive at the cart page.
Grouping – Used to make a product part of a grouped product. More info below at: Grouped Products.
Attributes
On the Attributes tab, you can assign details to a product. You will see a select box containing global attribute sets you created (e.g., platform). More at: Managing Product Categories, Tags and Attributes.
Once you have chosen an attribute from the select box, click add and apply the terms attached to that attribute (e.g., Nintendo DS) to the product. You can hide the attribute on the frontend by leaving the Visible checkbox unticked.
Custom attributes can also be applied by choosing Custom product attribute from the select box. These are added at the product level and won’t be available in layered navigation or other products.
Advanced
- Purchase note – Enter an optional note to send the customer after they purchase the product.
- Menu order – Custom ordering position for this item.
- Enable Reviews – Enable/Disable customer reviews for this item.
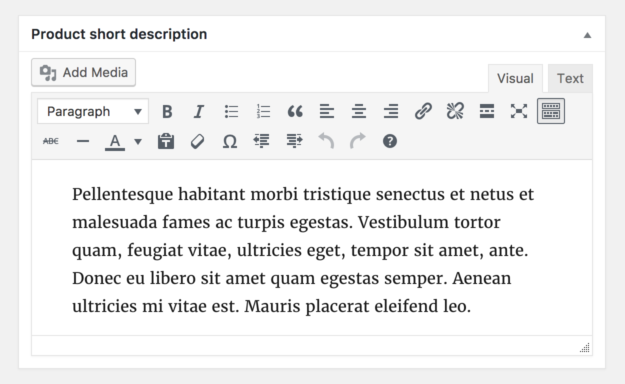
Product Short Description
This typically appears next to product imagery on the listing page, and the long description appears in the Product Description tab.
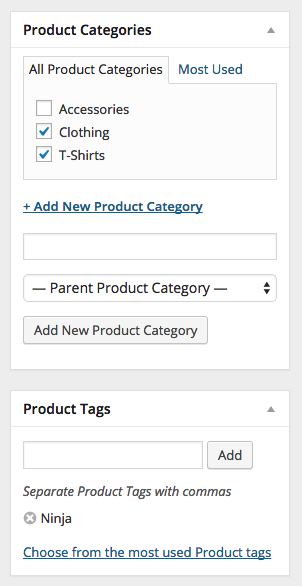
Categories
On the right-hand side of the Add New Product panel, there are product categories in which you can place your product. You can also assign product tags in the same way.
Catalogue Visibility and Feature Status
In the Publish panel, you can set Catalog Visibility for your product. Click the Edit button to view the options.
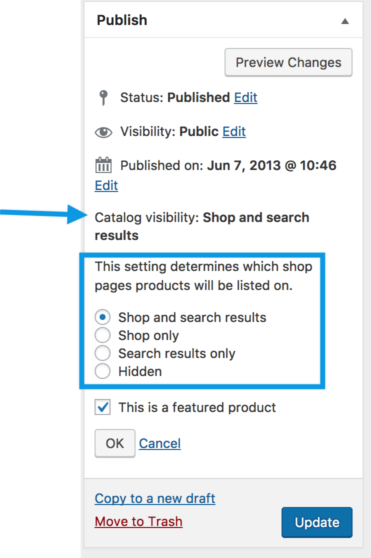
- Shop and search – Visible everywhere, shop pages, category pages and search results.
- Shop only – Visible in shop pages and category pages, but not search results.
- Search only – Visible in search results, but not in the shop page or category pages.
- Hidden – Only visible on the single product page – not on any other pages.
You can also set whether the product is promoted in product categories, up-sells, related products as a Featured Product. For example, you could tick the Featured box on all bundles you sell.
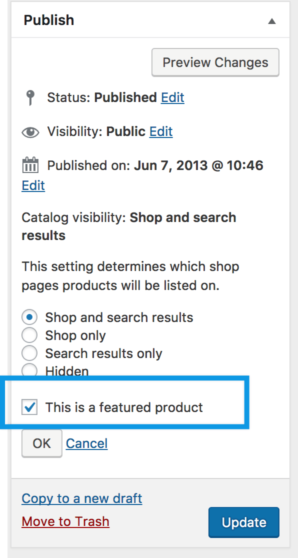
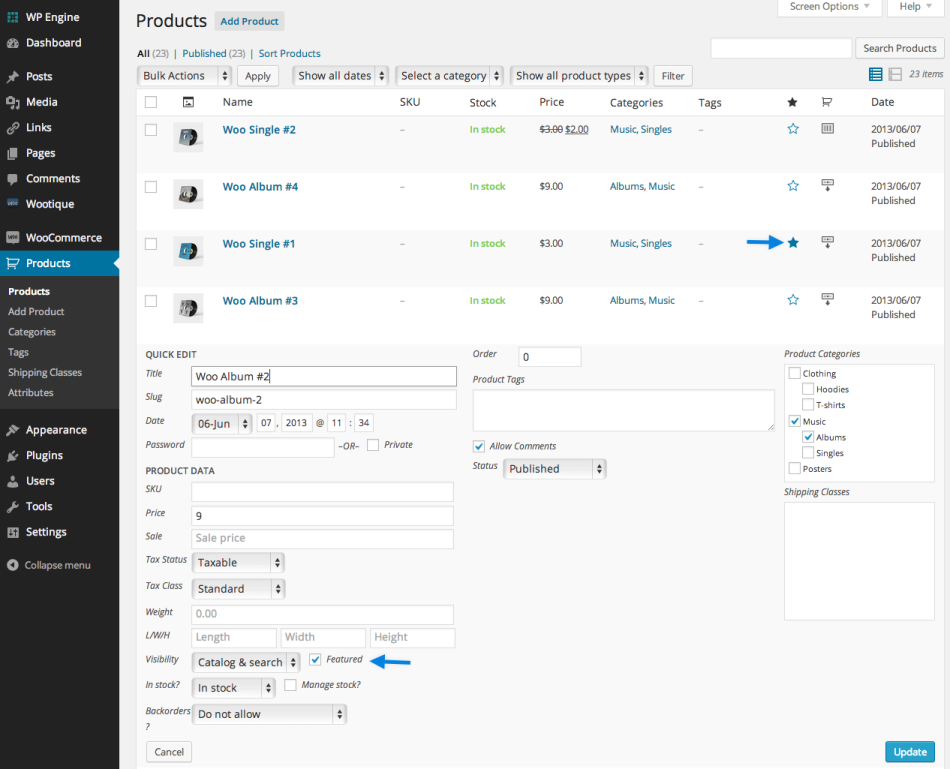
Mark a Product as Featured
To mark a product as featured, go to Products and select the Star in the featured column. Alternatively, select Quick Edit and then the Featured option.
Product Images and Galleries
Images are measured and set in pixels, for example, 800 x 800 pixels. Note that the first number is the width and the second is height.
We recommend organizing your images in a folder offline and keeping a backup in case you need them in the future or mistakenly alter one and wish to revert to the original.
Types of images
WooCommerce uses three types of Product Images for different locations and purposes:
- Single Product Image is the largest image and refers to the main/featured image on your individual product details page.
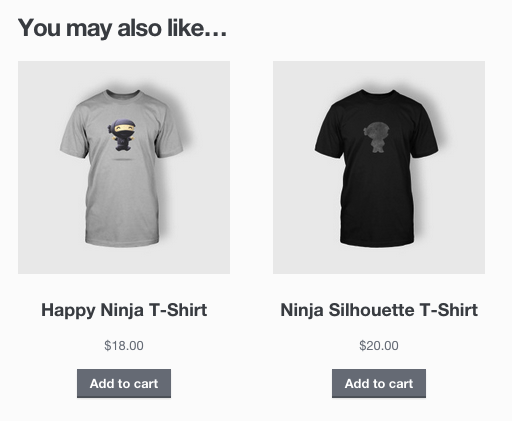
- Catalog Images are medium-sized images appearing in product loops, such as the Shop page, Product Category pages, Related Products, Up-sells, and Cross-sells.
- Product thumbnails are the smallest images used in the Cart, Widgets, and (optional) Gallery thumbnails underneath the Single Product Image.
Adding Product Images and Galleries
Adding product images and galleries are options available on the right-hand side when adding or editing a product in your store from WooCommerce > Products.
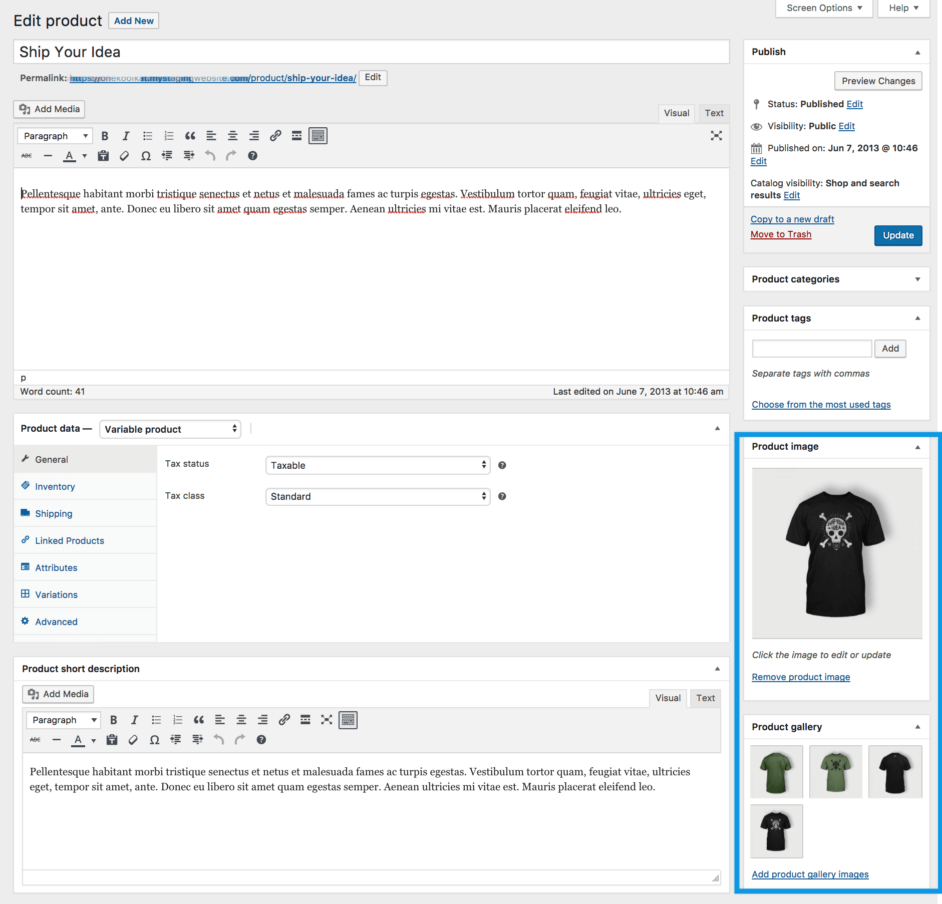
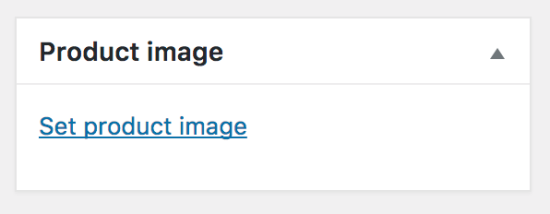
Product Image
The Product Image is the main image for your product and is reused in different sizes across your store.
Select Set Product Image.
Select an existing image in your Media Library or Upload a new one.
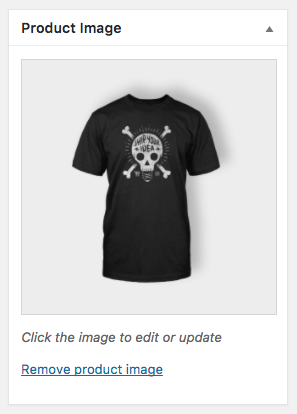
Remove and Edit the product image if you’d like to change it, as needed.
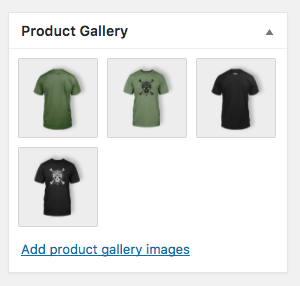
Product Galleries
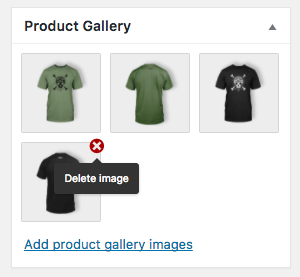
Add images to the Product Gallery
Product galleries display all images attached to a product through the Product Gallery meta box.
Create a Product Gallery using the same method as adding a Product Image, but using the Product Gallery meta box.
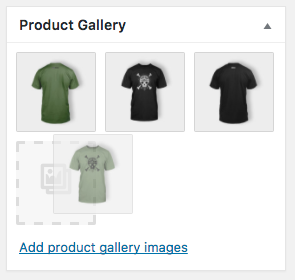
Reorder Images in the Product Gallery
Images in the product gallery can be re-ordered easily via drag and drop. Simply reorder your images by moving them around.
Remove Images from the Product Gallery
To remove an image from the product gallery, hover over the image and click on the red “x.”
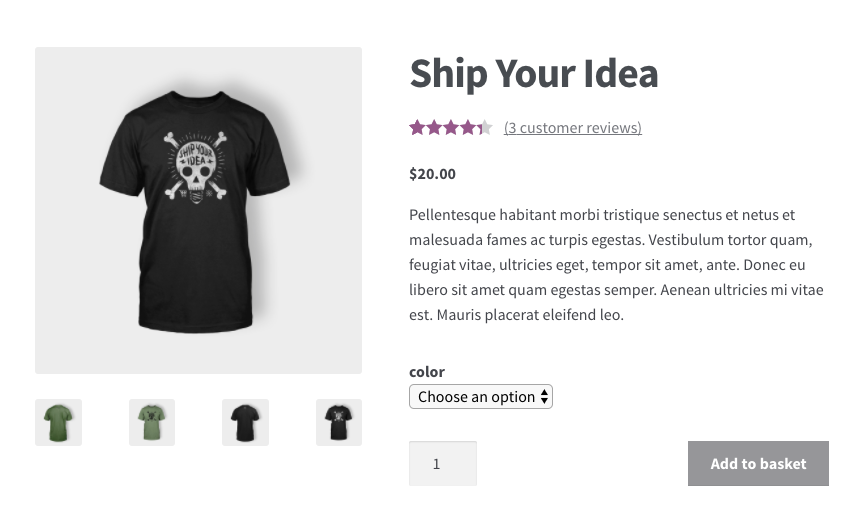
Customer View
Once a product image and gallery have been added, customers can see them in your store.
It’s also possible to Zoom and see a closeup of the image by hovering over it.
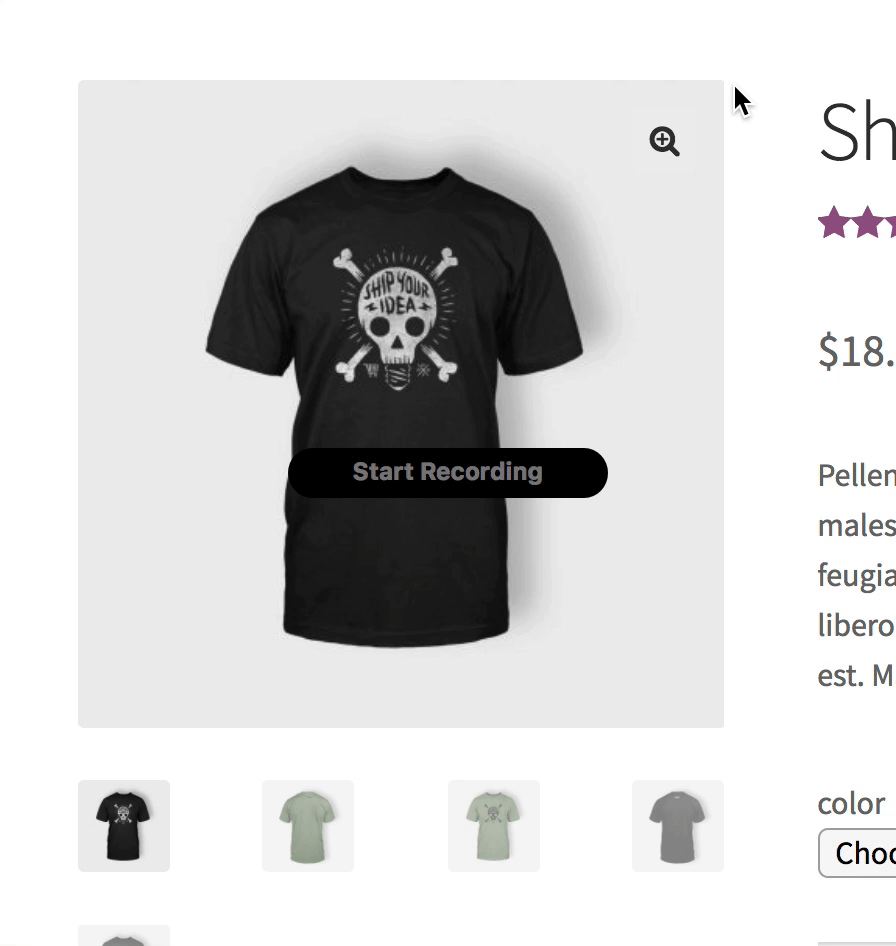
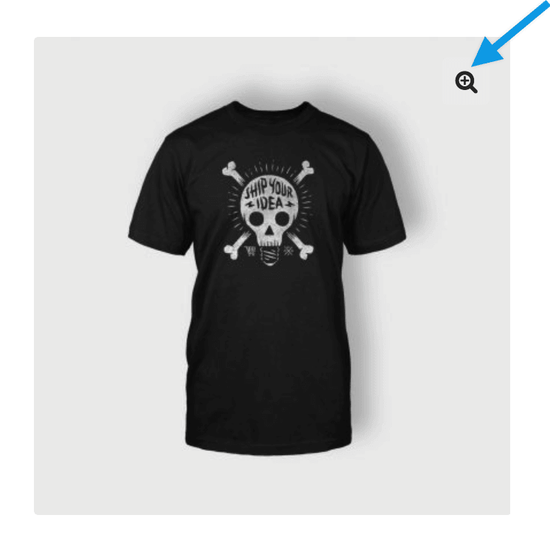
Or customers can click the Magnifying Glass+ option in the upper right corner.
And a Lightbox pops up so customers can see a highlighted closeup of the image against a dark background and, if there is one, view the Gallery as a slideshow. Touch gestures also work on mobile.
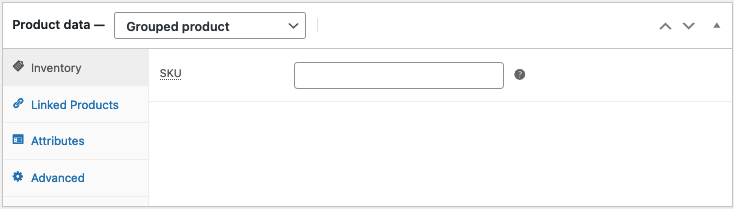
Adding a Grouped Product
A grouped product is created in much the same way as a Simple product. Grouped products are like lists of other products in your shop, and as a result do not have prices or stock numbers of their own.
Create the Grouped Parent
Go to Products > Add New.
Enter a Title for the Grouped product, e.g., Back to School set
Scroll down to Product Data and select Grouped from the dropdown. The price and several other fields disappear. This is normal because a Grouped Product is a collection of ‘child products’, which is where you add this information.
Click Publish.
The Grouped product is still an empty group. To this Grouped product, you need to:
- Create products and add them
- Add existing child products
Having the choice to first create Simple products and add them to a Grouped product later; or first create a Grouped product and add Simple products later gives you flexibility to add Simple products to more than one Grouped product.
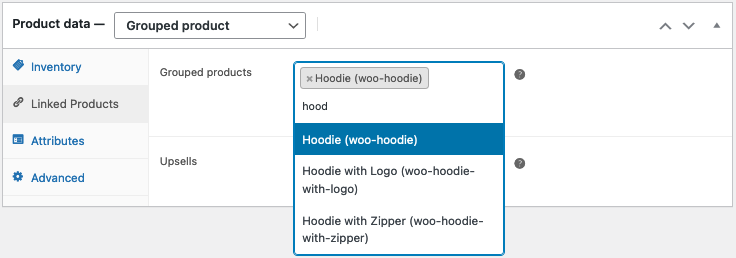
Add Products to the Group
Go to Products > Add New.
Select the Grouped product you wish to add products to.
Scroll down to Product Data and go to Linked Products.
Select Grouped Products, and search for the product by typing
Click the products you wish to add.
Click Update to save.
You can drag and drop to reorder the Grouped Products. Once you press Update, the new order will be shown on the product page.
Adding a Virtual Product
When adding a Simple product, you can tick the Virtual checkbox box in the product type panel.
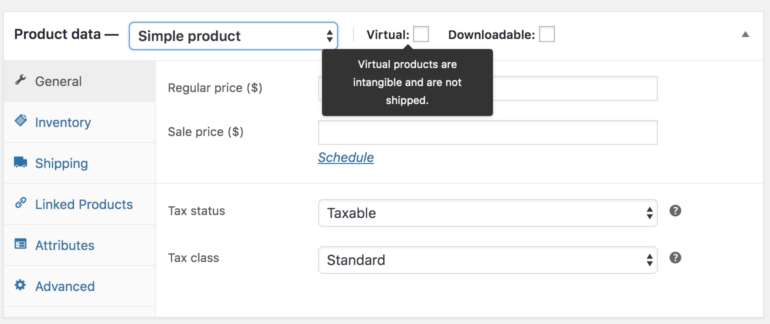
With Variable products this checkbox is moved to each variation.
Enabling this, disables all shipping related fields such as shipping dimensions. A virtual product will also not trigger the shipping calculator in cart and checkout.
Adding a Downloadable Product
When adding a simple product, you can select the Downloadable checkbox box in the product type panel. This adds two new fields:
- File path — Path or url to your downloadable file.
- Download limit – Limit on number of times the customer can download file. Left blank for unlimited downloads.
For maximum flexibility, downloadable products also incur a shipping cost (if, for example, you were offering both a packaged and a downloadable version of a product, this would be ideal). You can also check the Virtual box if the downloadable product is not shippable.
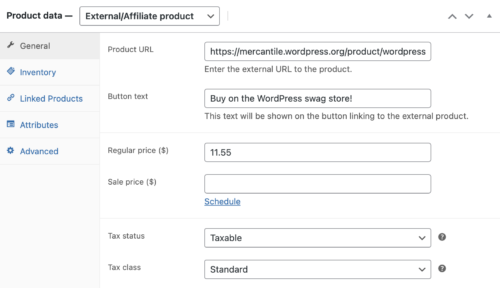
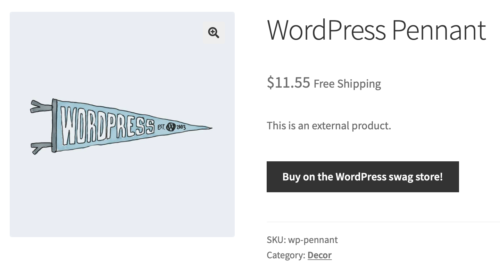
Adding an External/Affiliate Product
Select External/Affiliate from the product data dropdown. This will change the Product data metabox a bit. It first removes the shipping section from the left side. It then adds two new fields in the General section, the Product URL and Button text fields. The Product URL field is the destination where users can purchase this product. Then the Button text lets you change the normal Add to Cart button text to your preferred text.
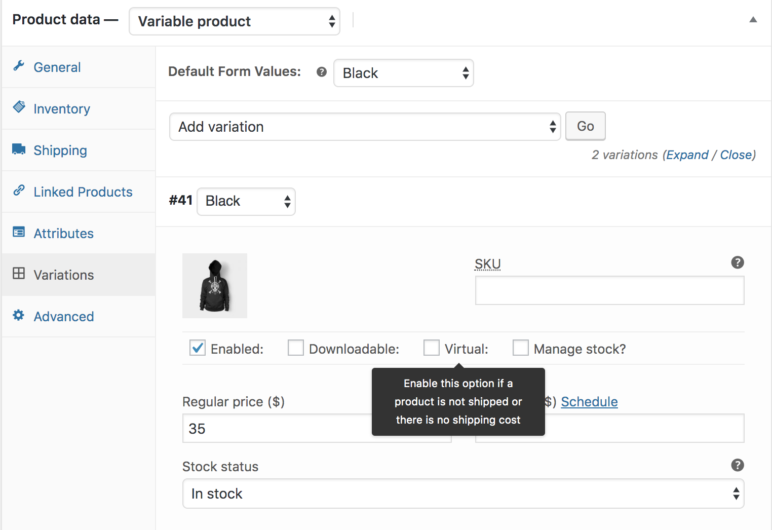
Adding a Variable Product
Variable products are one of the more complex of product types. They let you define variations of a single product where each variation may have a different SKU, price or stock level.
See our Variable Product guide for creating a product with variations.
Duplicating a Product
To save time, it’s possible to use a product and duplicate it to create similar products with variations and other qualities.
Go to Products and look through the list for a product you wish to replicate, hover over the product title then click Duplicate.

Deleting a Product
To delete a product:
Go to Products.
Find the product you wish to delete.
Hover in the area under the Product name and click Trash.
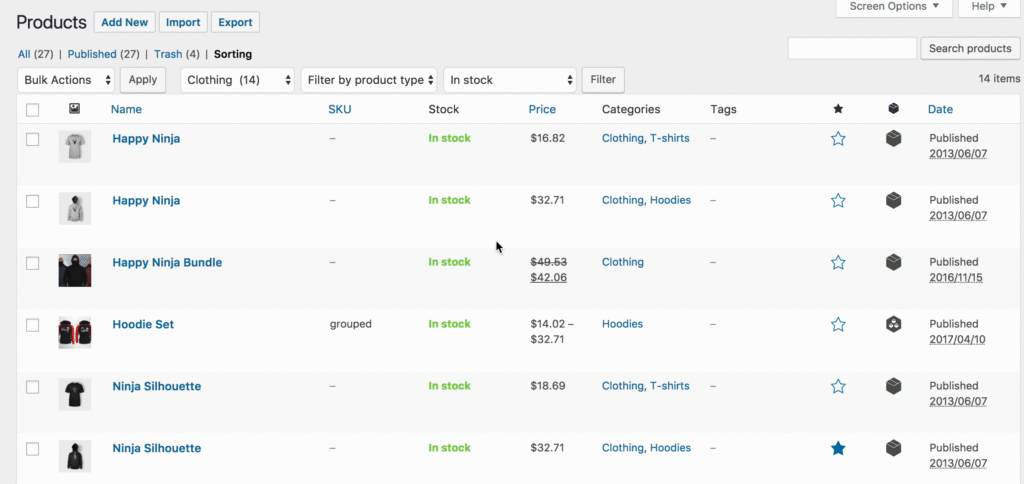
Filtering Products
Use the Filter function to get a product count, view products by type, or see which products are On Backorder or Out of Stock.
Go to Products.
Select a Category, Product Type and/or Stock Status, or any combination of the three.
Click Filter.

Sorting Products
Sorting is different than Filtering, in that you can drag and drop products to re-order them.
Go to Products.
Select Sorting.
Select a Category, Product Type and/or Stock Status, or any combination of the three.
Click Filter.
You can now drag and drop products in an order to your liking.

Product ID
A WooCommerce Product ID is sometimes needed when using shortcodes, widgets, and links.
To find the ID, go to Products and hover over the product you need the ID for. The product ID number is displayed.
